You turn on your reverse osmosis faucet expecting a steady flow of filtered water, but nothing comes out. Your storage tank remains empty or nearly empty despite the system running. This is one of the most common RO system failures, yet it’s often misdiagnosed as a major breakdown. Reverse osmosis storage tank not filling up usually stems from a handful of treatable issues: low tank pressure, clogged filters, or simple oversights after maintenance.
In this guide, you’ll learn exactly what causes your RO tank to stop filling, how to diagnose the root in under 30 minutes, and step-by-step fixes for every common culprit. Whether you’re dealing with zero water output, gurgling noises, or a tank that won’t hold pressure, this actionable guide covers everything from failed bladders to stuck air gap flaps.
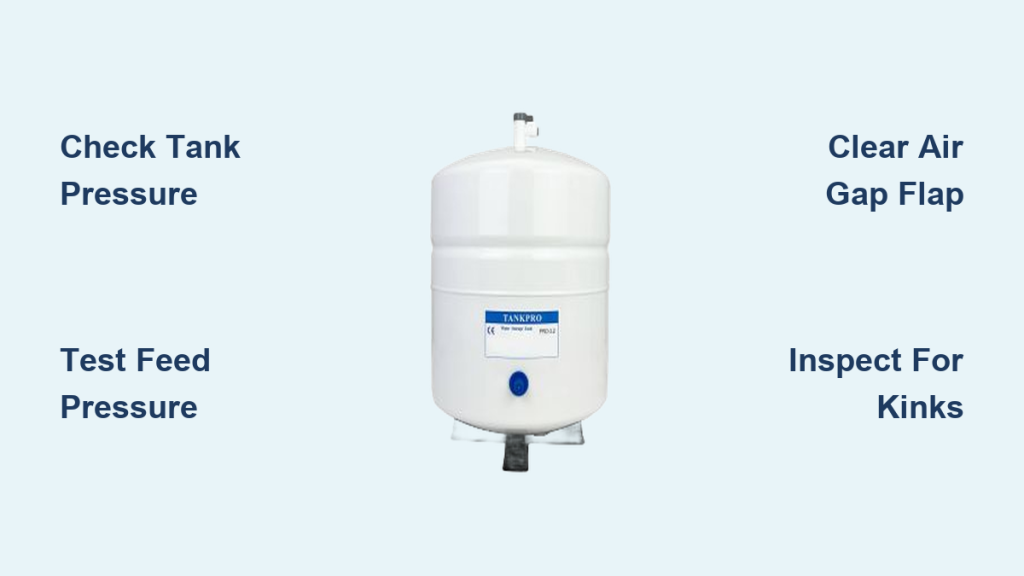
Check Storage Tank Air Pressure First
Before disassembling your system, test the most overlooked cause: lost or low air pressure in the storage tank. Without proper pressure, water cannot enter or exit the tank effectively.
Test Pressure on Empty Tank
- Shut off the feed water supply to your RO system
- Open the RO faucet and drain all water from the tank completely
- Locate the Schrader valve on the tank (looks like a bike tire valve)
- Use a tire pressure gauge to read the pressure
Pressure readings indicate:
– 5 to 8 psi: Normal operating range
– Below 5 psi: Needs re-inflation
– 0 psi with water leaking from valve: Bladder failure requires tank replacement
Never test pressure when the tank is full of water. Readings will be inaccurate and misleading.
Recharge or Replace the Tank
If pressure reads below 5 psi, use a bicycle pump or small air compressor to add air in short bursts. Inflate to 6 to 7 psi only. Never exceed 10 psi, as this can rupture the internal bladder. After re-pressurizing, open the feed valve and wait 2 to 4 hours for the tank to refill.
If pressure drops immediately after adding air, or if water sprays from the Schrader valve, the bladder is compromised. You must replace the storage tank.
Diagnose Ruptured Bladder Failure

A ruptured or failed bladder is one of the top reasons an RO tank stops filling. When water floods the air chamber, the tank loses all ability to pressurize and deliver water.
Signs of Bladder Failure
Watch for these warning indicators:
– Zero pressure reading even after pumping air into the tank
– Water leaking from the Schrader valve when you attempt to add air
– Tank feels unusually heavy when drained
– Only a small amount of water dispenses before flow stops completely
– Sloshing sound when moving the tank
Confirm the Diagnosis
Drain the tank completely, then attempt to pressurize to 7 psi. If pressure won’t hold or water sprays from the valve, the bladder has ruptured. There is no repair for a failed bladder. Replace the storage tank. Most tanks cost $50 to $150 and last 5 to 7 years with proper maintenance.
Proactive replacement every 5 to 7 years prevents unexpected failures, even if the tank seems functional.
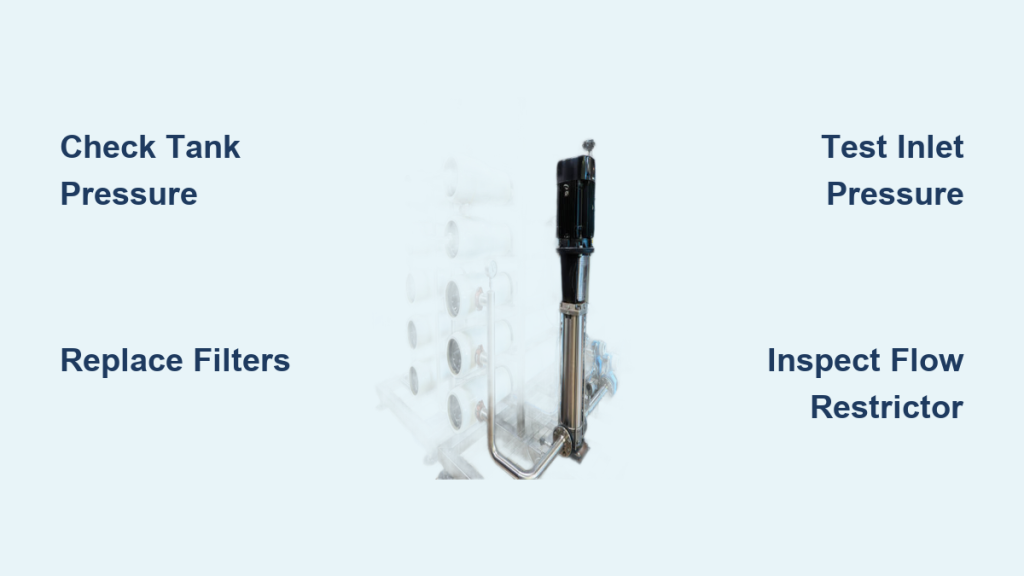
Verify Feed Water Pressure Meets Minimum Requirements
:max_bytes(150000):strip_icc()/testing-water-pressure-in-your-home-2718692-03-4672dd8ddbbe478bbf466ab2b8077a49.jpg)
Your RO system needs at least 40 psi of feed pressure to push water through the membrane. Below this threshold, production slows dramatically or stops entirely.
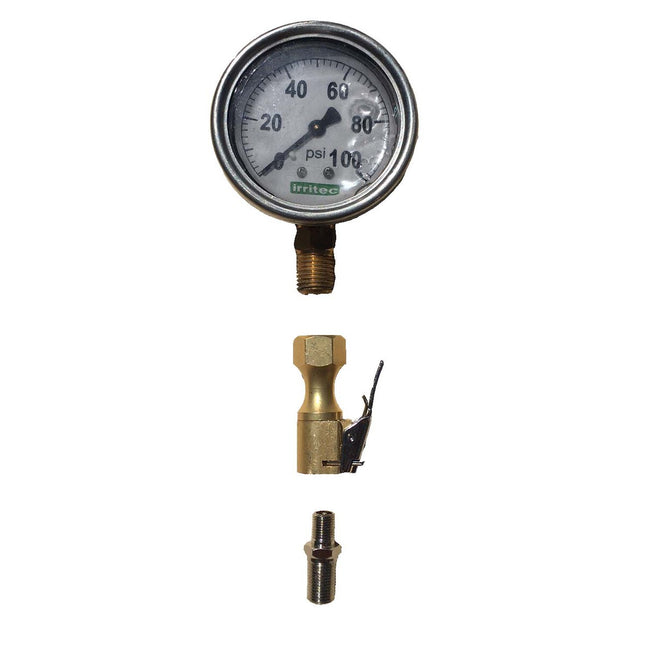
Test Your Household Water Pressure
Attach a water pressure gauge to a nearby hose bib or directly to the RO feed line. Turn off all water-using appliances including dishwashers and washing machines. Open the valve and record the reading.
Pressure affects system performance:
– Below 40 psi: System won’t produce effectively
– 40 to 60 psi: Minimum acceptable range
– 60 psi: Ideal for standard RO systems
– Above 80 psi: Risk of membrane damage; install a pressure regulator
Fix Low Feed Pressure
Ensure the shutoff valve to the RO system is fully open. Check for clogged sediment filters at the feed line. For well water systems, inspect the well pump and holding tank pressure. If pressure consistently stays below 40 psi, install a booster pump ($80 to $150) to supplement household pressure.
Low pressure mimics other failures, so test this early in your diagnostic process.
Replace Clogged Filters and RO Membrane
Clogged or expired filters are a leading cause of poor RO performance. Even one overdue filter can stop the tank from filling completely.
Standard Replacement Schedule
Follow this maintenance timeline:
– Sediment pre-filter: Every 6 months
– Carbon pre-filter: Every 6 to 12 months
– RO membrane: Every 12 to 24 months
– Post-carbon filter: Every 12 months
– Flow restrictor: Every 6 to 12 months
Why Clogging Stops Flow
When the sediment filter blocks debris, flow drops significantly. A saturated carbon filter allows chlorine to degrade the membrane. A fouled RO membrane produces no permeate (filtered water). A missing or clogged flow restrictor creates improper pressure across the membrane, reducing production.
Proper Filter Replacement Steps
Replace all filters if any are overdue. Pre-rinse carbon filters under running tap water for 30 to 60 seconds to flush loose carbon fines. Install the membrane with the branded end facing outward. Flush the system for 15 to 30 minutes after replacement before using the water.
A clogged flow restrictor costs only $4 but is often ignored. Replace it with every filter change.
Inspect Tubing for Kinks and Blockages
A simple kink in 1/4-inch tubing can stop water flow entirely. Check every inch of line under your sink.
Common Tubing Problems
Look for these issues:
– Kinked feed line: Sharp bends that pinch off flow
– Pinched drain line: Trapped under cabinet hardware or brackets
– Disconnected push-fit connectors: Can pop off during cleaning or maintenance
– Improper high loop: Drain line must rise to the air gap before sloping down
Fix Drain Line Issues
Ensure the drain line has a proper high loop to prevent siphoning. Confirm no backpressure from a clogged drain saddle. Listen for continuous drain flow, which indicates an ASO valve or air gap problem.
Clear Stuck Air Gap Flap
The air gap faucet contains an internal flap that controls wastewater flow. If stuck closed, water cannot drain, so the system stops producing filtered water.
Symptoms of Stuck Air Gap
Watch for these indicators:
– Gurgling or loud hissing near the faucet
– No water reaching the tank despite the system running
– Water backing up into the sink
– No drain flow or intermittent flow
Quick Fix Steps
- Turn off the feed water supply
- Insert a small pick tool or unbent paperclip into the air gap port
- Gently wiggle the internal flap to free it
- Turn the system back on
- Listen for sudden drain flow, which confirms success
This simple step has restored function in dozens of cases without requiring part replacement.
Confirm Correct Membrane Installation
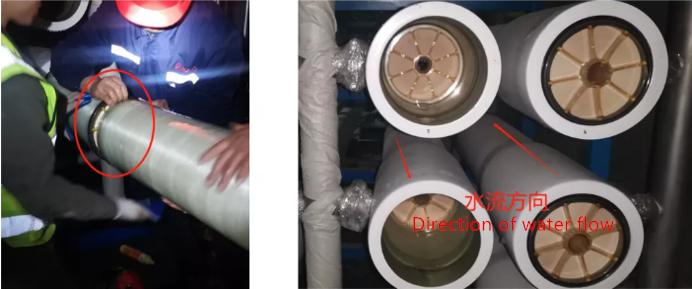
Even minor membrane errors stop production entirely. A backward or damaged membrane allows water to bypass filtration.
Common Membrane Mistakes
Watch for these installation errors:
– Membrane installed backward: Untreated water goes straight to drain
– Damaged O-ring: Creates bypass flow
– Not fully seated in housing: Creates leak path
– Clogged with debris: No permeate flows through
Diagnose Membrane Issues
Remove the membrane and inspect the O-ring for nicks, swelling, or misalignment. Check the orientation: the branded end typically faces outward. Reinstall and hand-tighten the housing without over-tightening.
Technicians report: “If water flows to drain but none reaches the tank, the membrane is likely installed backward or the seal is damaged.”
Check Valve and Faucet Positions
After maintenance, it’s easy to forget a simple step that stops the tank from filling.
Common Post-Maintenance Oversights
Review these frequent mistakes:
– Tank ball valve closed: Prevents water from entering the tank
– RO faucet left open: Tank cannot pressurize properly
– Feed water shutoff not fully open: Restricts flow
– Tubing not reconnected: Breaks the system loop
Quick Verification Checklist
Confirm that the tank valve is open. Ensure the RO faucet is closed during refill cycles. Verify the feed valve is fully open. Double-check all tubing connections are secure and fully seated.
Test System Production Rate
If the tank still won’t fill, measure actual output to isolate whether the problem is production or storage.
Perform a Flow Test
- Close the tank ball valve to isolate the tank
- Open the RO faucet
- Wait 5 minutes for residual water to drain
- Collect water in a measuring cup for exactly 60 seconds
- Calculate actual GPD: Ounces per minute multiplied by 1440, divided by 128
Example: 4 ounces per minute yields 4 times 1440 equals 5760, divided by 128 equals 45 GPD.
Interpret Results
If actual GPD is less than 50% of rated capacity, investigate clogged filters, low feed pressure, or a missing flow restrictor. A 50 GPD system producing only 25 GPD indicates a problem exists.
Evaluate System Age and Wear
RO systems degrade over time. Units over 5 to 7 years are prone to multiple interrelated failures.
Age-Related Risks
Consider these common age-related issues:
– Bladder fatigue in the storage tank
– O-ring deterioration causing leaks
– Scale buildup in the ASO valve
– Brittle tubing prone to cracking
– Membrane fouling from years of use
Proactive Upgrades
Replace the storage tank every 5 to 7 years. Install a booster pump if feed pressure is marginal. Upgrade to a higher GPD membrane if household water demand has increased.
A 10-year-old system may seem functional, but hidden wear increases failure risk. Consider a full system refresh.
Follow Final Diagnostic Checklist
Run through this checklist before calling a plumber:
- Is the tank valve open?
- Is the RO faucet closed during refill?
- Is feed water pressure at least 40 psi?
- Does the tank hold 5 to 8 psi when empty?
- Is water leaking from the Schrader valve? (Replace tank if yes)
- Is the air gap flap free-moving?
- Are all tubes kink-free and connected?
- Is the membrane correctly installed?
- Are filters seated and pre-rinsed?
- Is the ASO valve functioning (drain stops when tank is full)?
Prevent Future RO Tank Failures
Keep your RO system running smoothly with routine care.
Annual Maintenance Plan
Perform these tasks yearly:
– Check tank pressure using a tire gauge
– Test GPD output to catch underperformance early
– Replace the flow restrictor ($4 part, significant impact)
– Inspect tubing and connections; replace brittle lines
– Pre-rinse carbon filters before every installation
Treat your RO system like your car: regular service prevents major breakdowns.
Frequently Asked Questions About RO Tank Not Filling
Why is my RO storage tank not filling even after replacing filters?
Clogged filters are a common cause, but not the only one. If replacing filters doesn’t solve the problem, check tank air pressure, verify feed water pressure meets the 40 psi minimum, and inspect for kinked tubing. A failed bladder or stuck air gap flap can also prevent filling.
How do I know if my RO tank bladder is failed?
Test the Schrader valve when the tank is empty. If pressure reads zero or if water sprays from the valve when you add air, the bladder has ruptured. You may also hear a sloshing sound when moving the tank, or the tank may feel unusually heavy when drained.
What pressure should my RO storage tank have?
The storage tank should hold 5 to 8 psi when completely empty. The ideal range is 6 to 7 psi. Never exceed 10 psi, as this can rupture the internal bladder.
How long does it take for an RO tank to fill?
A standard 50 GPD system takes 2 to 4 hours to fill an empty 2.8-gallon tank. Fill time varies based on feed water pressure, water temperature, and system age. Systems producing less than 50% of rated capacity indicate a problem.
Can I repair a failed RO storage tank bladder?
No. The internal bladder is not repairable. When the bladder fails, you must replace the entire storage tank. Replacement costs range from $50 to $150, and the DIY job takes under an hour with basic tools.
What causes gurgling noises from my RO system?
Gurgling noises often indicate a stuck air gap flap. The internal flap controls wastewater drainage, and if stuck closed, it creates turbulent flow sounds. Use a small pick tool to free the flap and restore normal operation.
Key Takeaways for Fixing Your Reverse Osmosis Storage Tank
A reverse osmosis storage tank not filling up is rarely a mysterious breakdown. Most causes are straightforward to identify and fix. Start by checking tank air pressure and feed water pressure, as these two factors account for roughly half of all cases. Then inspect tubing for kinks, verify the air gap flap moves freely, and confirm all valves are in the correct position. Don’t forget to check membrane installation and replace overdue filters.
Most fixes take less than an hour. Recharging a low-pressure tank, clearing a stuck air gap flap, or simply opening a forgotten valve can restore your system in minutes. Test your system annually, maintain filters on schedule, and replace the storage tank every 5 to 7 years. A well-maintained RO system delivers clean drinking water reliably for a decade or more.