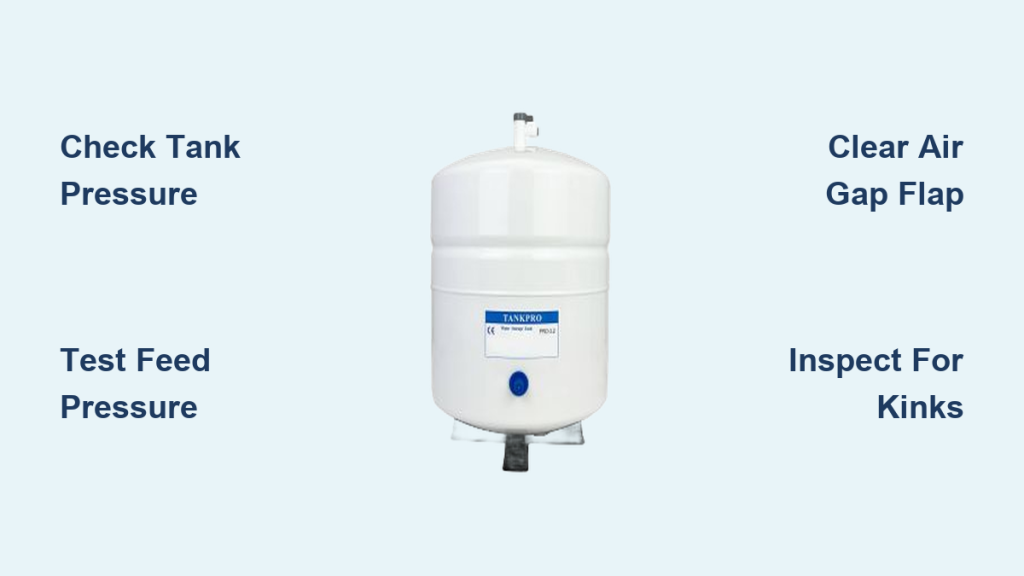
You turn on your reverse osmosis (RO) faucet and get nothing. Just a weak drip or silence. The system is installed, the filters are new, but reverse osmosis no water pressure is driving you crazy. You’re not alone. Thousands of homeowners face this issue every year, often after filter changes, tank replacements, or simply due to age.
The good news? Most causes are fixable in under 30 minutes with basic tools. The most common culprit isn’t a broken membrane or clogged filter. It’s the storage tank’s air pressure. A drop below 7 psi can cripple flow, even if the tank is full. Other issues like kinked tubing, closed valves, or a ruptured bladder also top the list.
In this guide, you’ll learn how to diagnose and fix reverse osmosis no water pressure using a step-by-step approach. You’ll master the tank pressure test, perform a 60-second flow check, and know exactly when to replace the tank or membrane.
Check Household Water Pressure First
Before diving into the RO system, confirm your home’s water pressure is strong enough. RO systems need at least 40 psi to function. Below that, water cannot push through the membrane, resulting in slow or no production.
Test Your Feed Pressure
- Attach a hose bib pressure gauge to an outdoor spigot or washing machine valve.
- Turn the valve fully open.
- Read the gauge:
• 40–80 psi: Safe range
• Below 40 psi: Problem confirmed
If pressure is low across the house, check for municipal supply issues. Inspect the main shutoff valve and ensure it’s fully open. Look for clogged sediment filters in whole-house systems.
Solution: Install a booster pump if feed pressure is consistently below 40 psi. These self-contained units mount near the RO system and increase pressure to the membrane.
Verify All Valves Are Open
A surprisingly common cause of no water pressure is closed or partially closed valves. Always check these three.
Valves to Inspect
• Feed water valve: Located on the cold water line feeding the RO unit. Usually red or blue. Must be fully open, aligned with the pipe.
• Tank ball valve: On top of the storage tank. Turn ¼ turn from horizontal (closed) to vertical (open). Leaving it closed traps water in the tank.
• T-Valve (if present): Connects the RO system to the main water line. Ensure it’s not pinching the tubing.
Pro Tip: After maintenance, it’s easy to forget to reopen the tank valve. Make it a habit to double-check all valves before testing.
Drain the Storage Tank Completely
You cannot test or adjust tank pressure unless the tank is 100% empty. Water is incompressible, so any residual water skews readings and prevents accurate recharging.
How to Drain the Tank
- Shut off the feed water supply.
- Open the RO faucet and let it run.
- Keep the faucet open using a clip, spoon, or sponge.
- Wait 10–15 minutes until flow stops completely.
- Close the faucet.
Visual cue: If water still drips after 15 minutes, the tank isn’t fully drained. Leave the faucet open longer.
This step is critical before checking air pressure or replacing the bladder.
Test for Bladder Rupture
The storage tank uses a butyl rubber bladder to push water out under pressure. If it ruptures, water floods the air chamber, and pressure drops to zero.
Schrader Valve Test
- Drain the tank completely (see above).
- Locate the Schrader valve (tire-style valve on the tank base).
- Press the valve core with a small tool or pen.
Results:
• Air hisses out: Bladder is intact.
• Water sprays out: Bladder is ruptured. Replace the tank.
No repair is possible. A ruptured bladder means the entire tank must be replaced. Replacement cost is $40–$60 for a 4–5 gallon universal tank. Most come pre-charged to 7–8 psi.
Measure and Adjust Tank Air Pressure
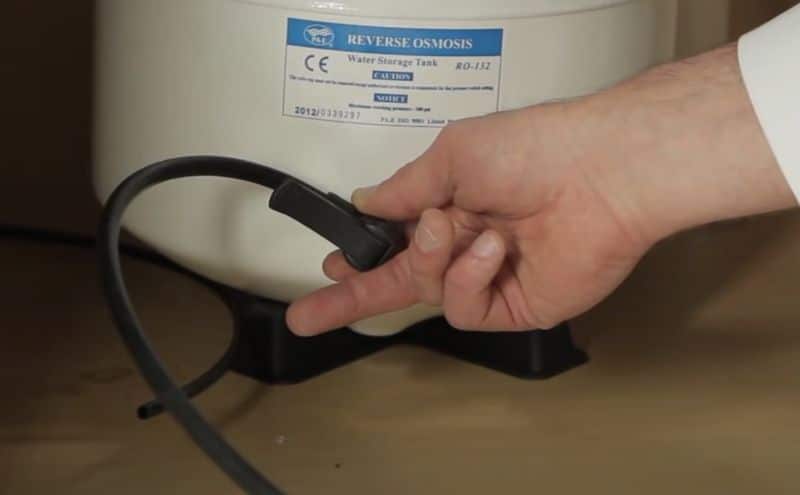
Low air pressure is the number one cause of weak RO water flow. Over time, air leaks out through the bladder or valve, reducing pressure below functional levels.
What’s the Right Pressure
• 7–8 psi when tank is empty (ideal).
• Minimum: 5 psi.
• Never exceed 8 psi. Risk of bladder damage.
Older guides cite 6 psi as ideal, but real-world testing shows 7–8 psi delivers stronger, more consistent flow.
Tools You Need
• Bicycle tire pressure gauge (accurate at low psi).
• Bicycle pump or shock pump (for mountain bikes).
• Avoid car compressors. They’re too powerful for precise control.
Repressurize the Tank
- Drain the tank completely.
- Remove the blue cap from the Schrader valve.
- Attach the gauge and read current pressure.
- Add air in short bursts:
• Pump 2–3 times.
• Recheck pressure.
• Stop at 7–8 psi. - Reinstall the blue cap.
- Turn water supply back on.
- Wait 2–4 hours for the tank to refill.
Success sign: Strong, steady flow from the faucet after refill.
Pro Tip: Do this once a year, ideally when changing filters. It takes 10 minutes and prevents 80% of pressure issues.
Clear Air Locks and Inspect Tubing

After filter changes or tank replacement, air can get trapped in the lines, blocking water flow. RO systems also use 1/4″ OD polyethylene tubing that can kink or crush.
Symptoms of Air Lock
• No water from faucet despite open valves.
• Gurgling or bubbling sounds.
• Intermittent flow.
How to Purge Air
- Ensure feed and tank valves are open.
- Open the RO faucet.
- Let water run continuously for 5–10 minutes.
This flushes air from the membrane housing, tubing, and tank. Flow becomes steady and silent when done.
Where to Check for Kinks
• Feed line from shutoff valve to RO unit.
• Permeate line from membrane to tank.
• Drain line near saddle connection.
How to test: Visually inspect all tubing. Feel for soft spots or flat sections. Disconnect fittings and blow through the line. No airflow means blockage.
Fix: Straighten kinks if possible. Replace damaged tubing. When re-routing tubing, leave gentle curves. Never sharp bends.
Replace Clogged Filters and Diagnose Membrane

While not the main cause of sudden pressure loss, clogged filters restrict flow and slow tank refill. A failing membrane also slows tank refill, making it seem like low pressure.
Filter Types and Lifespan
| Filter | Function | Replace Every |
|---|---|---|
| Sediment (5-micron) | Removes sand, rust | 6–12 months |
| Carbon Block | Removes chlorine, VOCs | 6–12 months |
| Polishing (GAC) | Improves taste | 12 months |
Signs of clogging: Flow rate below 8 oz/min. Tank takes 4+ hours to refill. Chlorine taste in water.
Membrane Lifespan
• 2–3 years average.
• Up to 8 years with clean municipal water.
• As short as 3–6 months with well water (iron, sulfur).
Flow Rate Test (60-Second Method)
- Close the tank valve.
- Drain residual water from faucet.
- Wait 1–5 minutes for drip to stabilize.
- Collect water for 60 seconds.
- Measure in ounces.
Calculate daily output: oz/min × 1440 ÷ 128 = gallons per day (GPD)
| Flow Rate | Output | Verdict |
|---|---|---|
| < 8 oz/min | < 90 GPD | Replace membrane |
| 8–12 oz/min | 90–135 GPD | Acceptable |
| 12–15 oz/min | 135–168 GPD | Ideal |
Replace membrane if flow drops more than 50% from original or TDS rises above 15 ppm.
Check Flow Restrictor and Permeate Pump
The flow restrictor controls how much water goes to drain. It maintains pressure on the membrane for optimal filtration. A permeate pump uses waste water energy to boost pressure to the tank.
Flow Restrictor Issues
• Clogged with scale: Too little drain flow causes membrane scaling.
• Wrong size: Imbalance leads to low permeate production.
Ideal ratios: 50% to drain, 50% to tank (standard). Adjust based on water quality.
How to test: Locate the restrictor in a plastic housing on the drain line. Remove and soak in vinegar for 30 minutes to dissolve scale. Blow through it. Should allow slow, steady airflow.
Rule: Match restrictor GPD to membrane size (e.g., 0.75 GPD for 75 GPD membrane).
Permeate Pump Failure Signs
• No rhythmic pulsing sound (normal operation).
• Grinding or silence.
• Reduced flow despite good tank pressure.
How to fix: Check for obstructions in inlet/outlet lines. Inspect internal diaphragm. Replace pump if faulty (typically $50–$80).
Prevent Future Pressure Problems
Avoid repeat issues with simple maintenance.
Annual Tank Recharge
• Once a year, drain and repressurize the tank to 7–8 psi.
• Pair with filter change for consistency.
Filter Replacement Schedule
• Sediment and carbon: Every 6–12 months.
• Membrane: Every 2–3 years.
• Flow restrictor: Every 2–3 years.
Water Quality Tips
• Avoid saltwater from water softeners. Can kill membranes.
• Install a bypass during softener regeneration.
• Flush system weekly if using with high-TDS water.
When to Replace the Storage Tank
Replace the tank if water sprays from Schrader valve (bladder rupture). Also replace if pressure won’t hold after recharging or if the tank is swollen, leaking, or over 7 years old.
Replacement Steps
- Shut off water.
- Drain tank.
- Disconnect tubing (push-fit connectors snap off).
- Install new tank (pre-charged).
- Reconnect and refill.
Takes under 20 minutes with no tools.
Frequently Asked Questions About Reverse Osmosis No Water Pressure
Why does my RO system have no water pressure even with new filters?
The most common cause is low air pressure in the storage tank, not the filters. Over time, air pressure drops below functional levels (below 5–7 psi), preventing water from being pushed out. Drain the tank completely and recharge to 7–8 psi using a bicycle pump.
How do I know if my RO tank bladder is ruptured?
Drain the tank completely, then press the Schrader valve (tire-style valve on the tank base). If air hisses out, the bladder is intact. If water sprays out, the bladder is ruptured and the tank must be replaced.
What pressure should my RO storage tank have?
The storage tank should have 7–8 psi of air pressure when completely empty. This is the optimal range for strong, consistent water flow. Never exceed 8 psi, and do not let it drop below 5 psi.
Can low household water pressure cause RO no water pressure issues?
Yes. RO systems require at least 40 psi of feed water pressure to function properly. Below this, water cannot push through the membrane effectively. Test your household pressure with a hose bib gauge. If below 40 psi, install a booster pump.
How often should I repressurize my RO storage tank?
Repressurize the tank once a year, ideally when changing filters. This 10-minute maintenance task prevents 80% of pressure issues and extends the life of your RO system.
Why is my RO tank draining slowly after repressurization?
This is normal. During repressurization, residual water continues to drip from the faucet. This is air escaping as pressure increases. The flow will stop once the tank reaches proper pressure and refills.
Key Takeaways for Fixing Reverse Osmosis No Water Pressure
Most reverse osmosis no water pressure issues stem from the storage tank’s air pressure or a ruptured bladder. A 10-minute repressurization often restores full flow. Always drain the tank first, test the Schrader valve, and charge to 7–8 psi. Combine this with annual filter changes and flow testing, and your RO system will deliver strong, clean water for years.
The troubleshooting sequence matters. Check household pressure first, then verify all valves are open. Test the bladder, measure tank pressure, and address any kinks or air locks. Only after confirming tank and valve functionality should you evaluate filters and membrane. Following this prioritized approach saves time and prevents unnecessary replacements.