Is your reverse osmosis system producing only a weak trickle of water despite recent filter changes? The culprit is often a poorly pressurized storage tank rather than a clogged membrane or failing pump. Over time, the air pressure inside an RO tank naturally diminishes, reducing water flow and usable capacity. This guide shows you exactly how to pressurize a reverse osmosis tank safely and effectively using simple tools and proven steps. You will learn to diagnose low pressure, test for bladder failure, add air correctly, and restore full performance without unnecessary part replacements.
Recognize Low Pressure Symptoms in Your RO System
Detecting pressure issues early prevents misdiagnosis and wasted money on unnecessary repairs. Understanding the classic signs helps you confirm whether tank pressurization is needed.
Weak Flow After Initial Surge
You turn on the RO faucet and receive a strong burst of water, then it quickly drops to a slow drip. This classic pattern means the tank has lost air pressure. Without enough compressed air, the system cannot push water out steadily. The initial flow comes from residual pressure, but once that is spent, water stops flowing even if the tank is technically full.
Short Cycling of the RO Pump
If the RO pump turns on and off rapidly, every few seconds, low tank pressure is likely the cause. With insufficient backpressure, the pump reaches shutdown pressure too quickly, then restarts as soon as water is drawn. This short cycling significantly wears out the pump and membrane over time.
Tank Feels Heavy But Delivers Little Water
A standard 3-gallon RO tank should feel light when empty. If the tank still feels heavy after draining completely, water has likely flooded the air chamber, indicating bladder rupture. In documented cases, users have drained 5 gallons from a 3-gallon tank, proving complete bladder failure. Never add air to a waterlogged tank, as replacement is required.
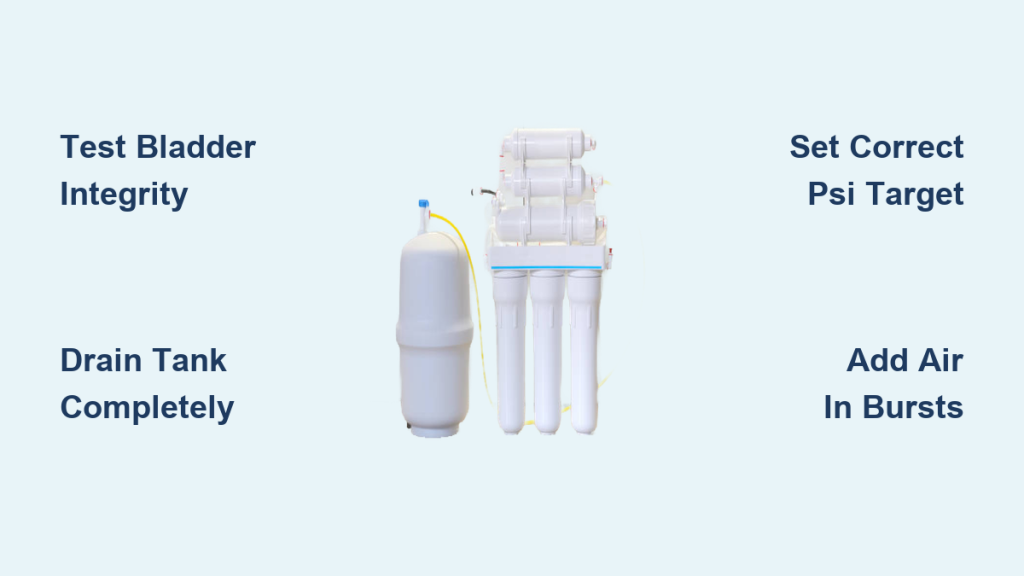
Check Bladder Integrity Before Adding Air

Before adding any air, you must confirm the bladder is intact. Pumping air into a ruptured bladder wastes time and accomplishes nothing.
Test the Schrader Valve
The Schrader valve, located on top of the tank, resembles a car tire valve. To test bladder integrity, drain the tank completely, then press the center pin with a small tool or tire gauge tip. Observe what escapes from the valve. Air only indicates the bladder is good, and you can proceed with pressurization. Water or spray means the bladder is ruptured, and the tank must be replaced.
Inspect for Leaks and Physical Damage
Check the Schrader valve core for leaks using soapy water applied to the valve stem. Bubbles appearing indicate a leak, and the core should be tightened or replaced. Also examine the tank exterior for cracks, bulging, or corrosion. Any physical damage means replacement is necessary for safe operation.
Gather Required Tools for Pressurization
Using the right tools ensures accurate results and prevents damage to the tank or contamination of your water system.
Essential Equipment List
A low-range air pressure gauge reading 0 to 20 PSI provides the precision needed, as standard tire gauges lack accuracy below 20 PSI. A bicycle or hand pump offers fine control and is safer than unregulated compressors. If using a compressor, it must have a pressure regulator set to 12 PSI maximum. You also need a Schrader valve cap remover or small wrench, plus a bucket and towel for draining residual water.
Shut Off and Drain the RO System
Proper isolation of the system prevents water from entering during service and ensures accurate pressure readings.
Turn Off Water Supply
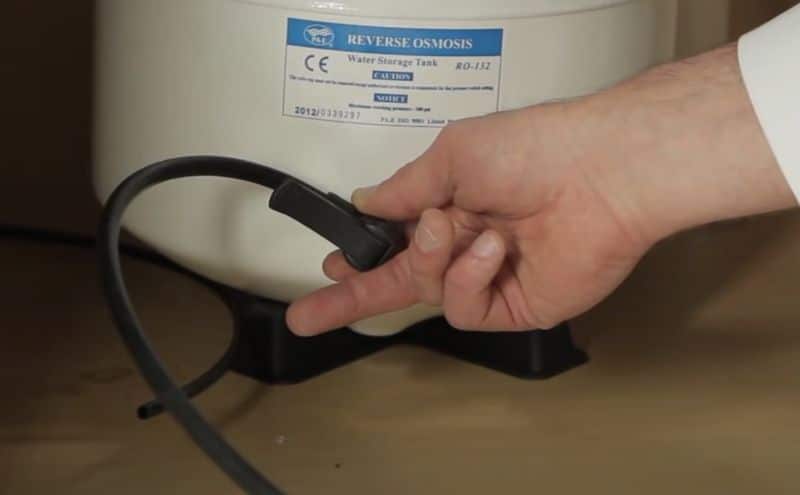
Locate the blue angle-stop valve feeding your RO system. Turn the handle perpendicular to the pipe to shut off water completely. This isolates the system and prevents new water from entering during the pressurization process.
Empty the Tank Completely
Open the RO faucet and let water flow until it stops. Keep the faucet open for 1 to 2 minutes to release trapped pressure. For final drainage, disconnect the tank water line and drain any remaining water into a bucket. Gently shake the tank; no sloshing should occur when it is fully empty.
Measure Current Air Pressure in the Tank
Accurate measurement requires the tank to be completely empty, as water pressure distorts readings.
Attach Gauge to Schrader Valve
Remove the blue cap from the Schrader valve. Firmly press a clean, calibrated gauge onto the valve stem and record the reading. Below 5 PSI indicates the tank needs air. Zero PSI suggests total air loss, so check for bladder rupture. Above 12 PSI means the tank is over-pressurized and requires careful air release.
Re-Pressurize the Tank to Correct PSI
Adding air correctly requires matching the pre-charge to your specific water line pressure for optimal performance.
Set Target Pressure Based on Line Pressure
The ideal pre-charge depends on your incoming water pressure. For incoming pressure below 50 PSI, set the tank to 6 PSI. For incoming pressure of 80 PSI or higher, set to 10 to 12 PSI. Standard factory pre-charge ranges from 5 to 7 PSI, and higher line pressure makes it harder for the tank to fill, so slightly higher air charge helps balance system dynamics.
Add Air in Controlled Bursts
Connect a bicycle pump to the Schrader valve. Pump in 3 to 4 short bursts, then check pressure with the gauge. Repeat until target pressure is reached. Keep the RO faucet open during this process to vent any trapped water above the bladder. Never exceed 12 PSI in normal operation, as excessive air pressure over-compresses the bladder and reduces storage capacity.
Release Excess Pressure If Needed
If over-pressurized, press the Schrader valve core with a small tool to release air in small increments. Recheck with the gauge after each release to avoid undershooting the target.
Reconnect and Restart the System
Proper reassembly ensures the system operates safely and efficiently after pressurization.
Final Reassembly Steps
Replace the blue Schrader valve cap. Reconnect the water line to the tank. Secure the tank in its mounting bracket. Close the RO faucet. Turn the water supply valve parallel to the pipe to restore flow.
Allow Full Recharge Time
Let the system refill for 2 to 4 hours, depending on membrane capacity, which typically ranges from 50 to 100 gallons per day. Do not use the faucet during this refill period.
Test Performance After Refill
Verifying proper operation confirms your pressurization work was successful.
Verify Flow Rate and Consistency
After the refill period, open the faucet fully and observe the results. Flow should be strong and steady for at least 1 to 2 minutes. Fill speed should be approximately 8 ounces in 15 to 20 seconds. There should be no sputtering or pulsing. Wait 10 minutes post-reconnection before testing to allow pressure stabilization.
Optional TDS Check
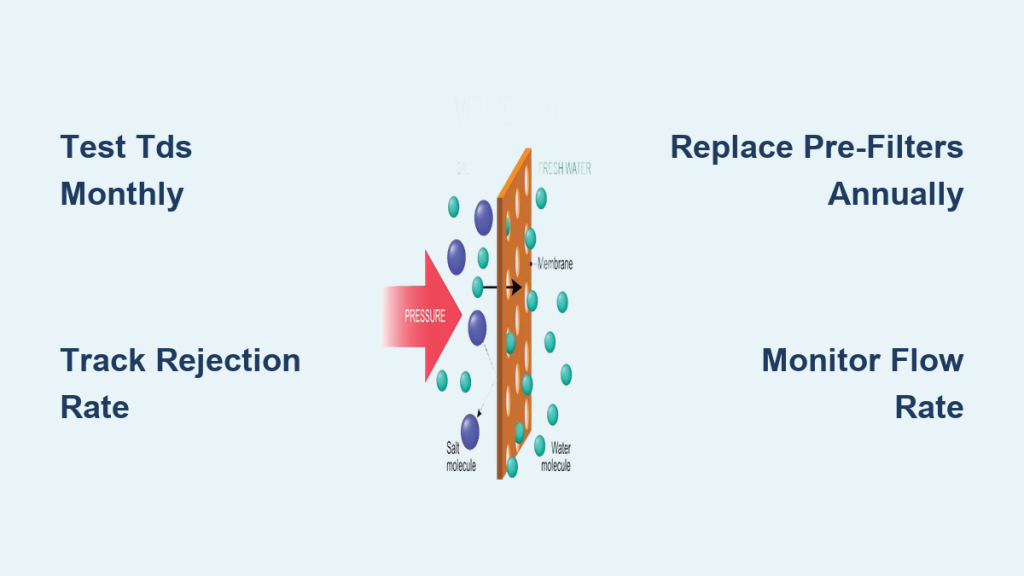
Use a TDS meter to confirm the membrane is functioning properly. A sudden spike may indicate a separate issue, but poor flow with normal TDS points to tank pressure as the culprit.
Prevent Common Pressurization Mistakes
Avoiding these errors ensures your work produces lasting results.
Avoid Over-Pressurizing
Exceeding 7 to 12 PSI compresses the bladder too much, reducing usable water volume. Users have reported gaining 1.5 extra gallons after correcting over-pressurization. Use a precise gauge and stop at your target PSI.
Never Skip the Bladder Test
Pumping air into a ruptured tank is futile. Always test the Schrader valve first. Water discharge from the valve means replace the tank, not repressurize.
Use Clean, Oil-Free Tools
Contaminated pumps or dirty gauges can introduce bacteria or oil into your water system. Clean all tools before use to protect water quality.
Maintain Optimal Pressure Long-Term
Regular maintenance keeps your RO system performing at peak efficiency.
Schedule Annual Pressure Checks
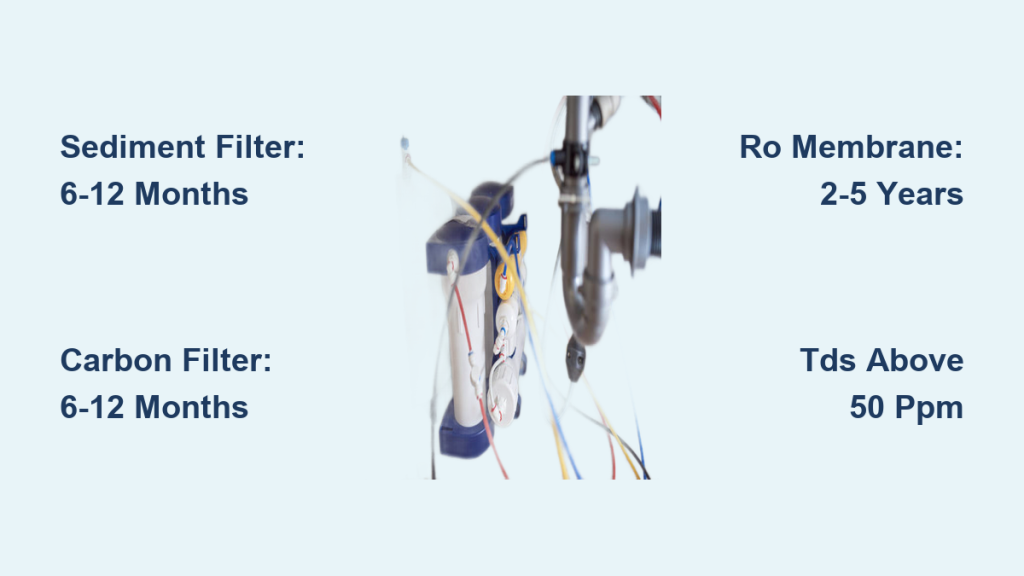
Test tank pressure every 6 to 12 months, ideally when replacing pre-filters. Tracking readings in a log helps detect slow leaks before they cause problems.
Pair Pressure Checks with Filter Changes
Most RO maintenance involves shutting off water and accessing the tank, making it the perfect time to check pressure. Combine these tasks to save time.
Label Tank with Service Dates
Use a waterproof label to note the last pressurization date. This helps track maintenance history and ensures timely service.
Know When to Replace the RO Tank
Sometimes replacement is the only solution.
Replace If Bladder Is Ruptured
Signs include water spraying from the Schrader valve, tank remaining heavy after full drainage, and pressure not holding after multiple recharges. A failed bladder cannot be repaired. Replacement tanks cost $50 to $120 depending on brand and capacity.
Check for Physical Damage
Cracks, bulging, or corrosion mean the tank is unsafe. Replace immediately if any damage is visible.
Frequently Asked Questions About Pressurizing RO Tanks
How do I know if my RO tank needs pressurization?
Signs include weak water flow that drops quickly after initial surge, short cycling of the RO pump, and the tank feeling heavy even after draining. A pressure gauge reading below 5 PSI when the tank is empty confirms the need for air.
What PSI should a reverse osmosis tank be pressurized to?
The standard pre-charge pressure is 5 to 7 PSI when the tank is empty. For incoming water pressure below 50 PSI, use 6 PSI. For incoming pressure of 80 PSI or higher, use 10 to 12 PSI.
Can I use a regular tire gauge to check RO tank pressure?
Standard tire gauges often lack precision below 20 PSI. Use a low-range pressure gauge specifically designed for 0 to 20 PSI readings for accurate results.
How often should I repressurize my RO tank?
Test and repressurize the tank every 6 to 12 months. Performance decline or filter change intervals are good reminders to check pressure.
What happens if I over-pressurize my RO tank?
Over-pressurizing above 12 PSI compresses the bladder too much, reducing usable water storage capacity. The tank may fill completely but deliver very little water before the pressure drops.
Why does my RO tank feel heavy but still deliver poor flow?
A heavy tank after draining indicates water has flooded the air chamber, meaning the bladder has ruptured. This requires tank replacement, as the bladder cannot be repaired.
Key Takeaways for Pressurizing Your RO Tank
Properly pressurizing a reverse osmosis tank is one of the most impactful maintenance tasks you can perform. At just 5 to 7 PSI, or up to 12 PSI for high-pressure lines, the tank delivers maximum flow, prevents pump wear, and extends system life. Always test the bladder first using the Schrader valve test before adding air, as pumping air into a waterlogged tank wastes effort and confirms replacement is needed instead. Using clean tools, maintaining proper pressure, and recharging annually ensures reliable performance for years. Never assume a heavy tank is full of usable water, as weight may indicate bladder failure. With this guide, you now have the knowledge to diagnose, repair, and maintain RO tank pressure like a professional.